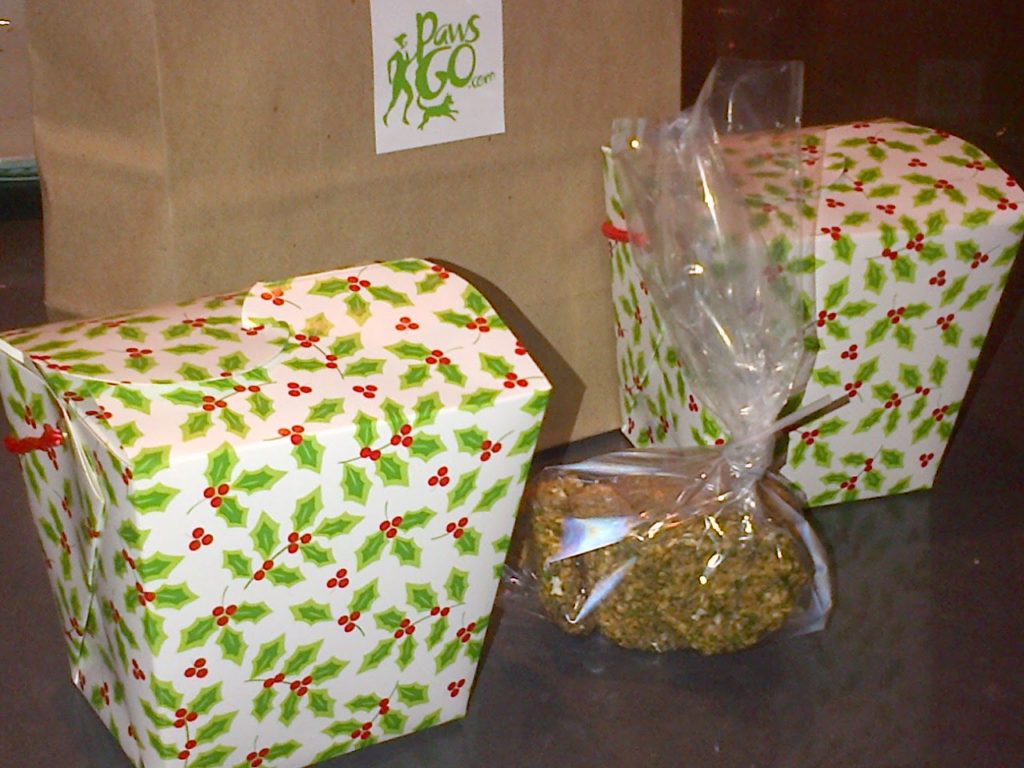
The Holidays mean baking and treats, so why not take a little time and bake some healthy treats for your BFF (best furry friend) or package them up for your friends with dogs?!
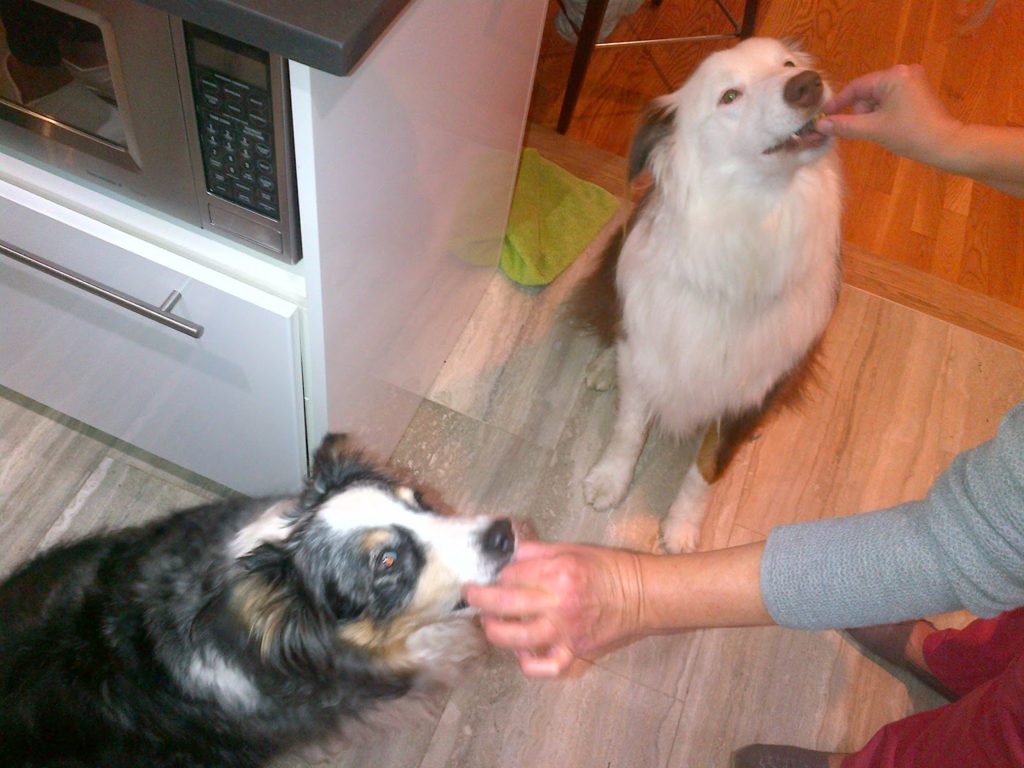
My dogs love treats, and truthfully, I give them more than I should. Treats are rewards, treats are expected, and treats can quickly diffuse an annoying situation. Treats are a part of our day. But are treats healthy? Maybe, but probably not in the volume that my dogs coerce me into giving them. And, they get expensive.
So, PawsGo set out to create healthy treats that we could make at home. With the help of Kari Faherty, of True Health and Wholeness
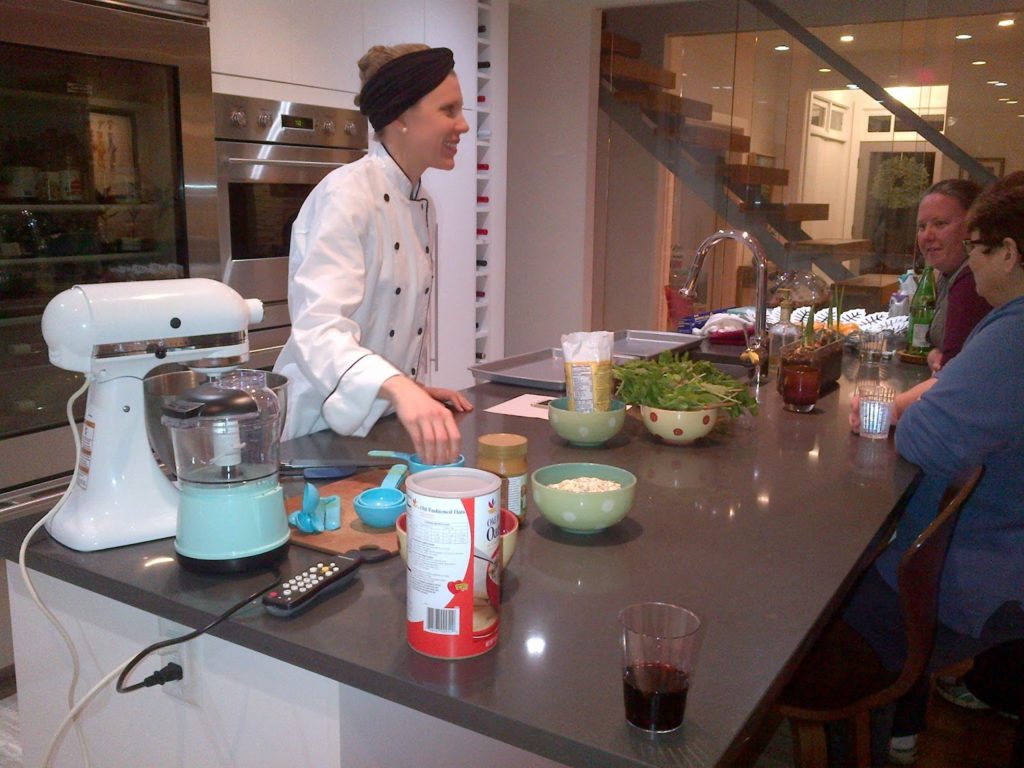
http://true-hw.com/ in Arlington, Virginia, we hosted a dog treat cooking class. The idea was to create treats to share with dogs and their friends.
Kari developed two very easy recipes. One with peanut butter, the other with parsley (because who can’t use a little breath freshener). All ingredients were found at our local grocery story and cost $11.73 — what a deal! The end result can be consumed by both humans and dogs. All ingredients and steps are outlined below — thank you Kari! (and yes, we served wine)
Preheat the oven to 300 degrees. Line a baking sheet with parchment paper.
|
Breath Freshener
Ingredients:
õ
1 Banana
õ
3 tablespoons peanut butter
õ
1 egg
õ
1 cup oat flour
õ
2/3 cup rolled oats
õ
1 – 1½ cup chopped fresh parsley and/or mint
Recipe:
1. In a large bowl, mash the banana
2. Add the peanut butter and egg.
3. Add the oat flour and rolled oats.
Allow the dough to sit.
4.
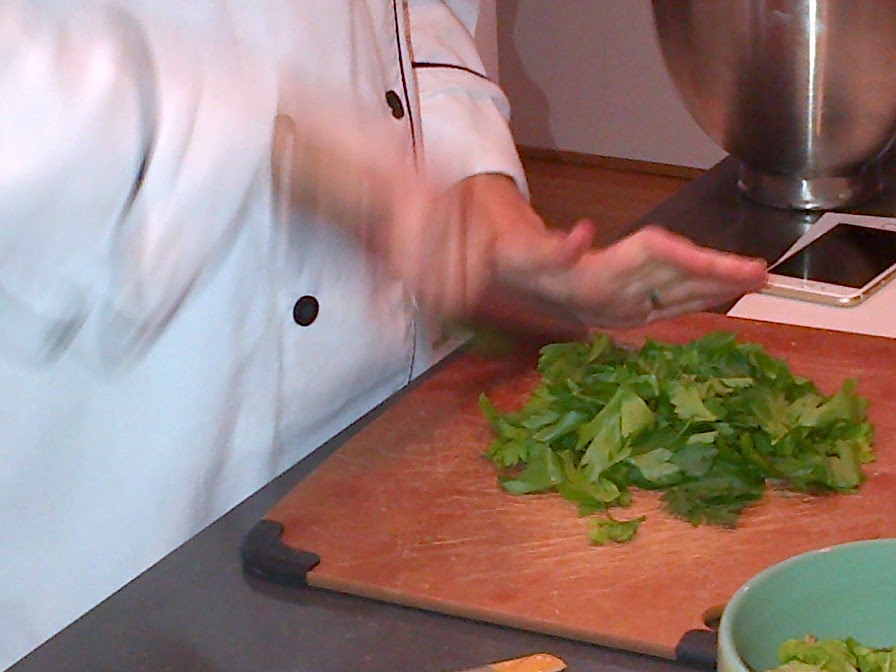
While the dough is sitting, finely chop the parsley. |
Peanut Butter Flax
Ingredients:
õ
1 Banana
õ
3-5 tablespoons peanut butter
õ
1 egg
õ
1 cup oat flour
õ
2/3 cup rolled oats
õ
½ cup flax meal (plus more, if needed)
Recipe:
1. In a large bowl, mash the banana
2. Add the peanut butter and egg.
3. Add the oat flour and rolled oats.
Allow the dough to sit.
4.
Add the flax, enough to make the dough moldable. |
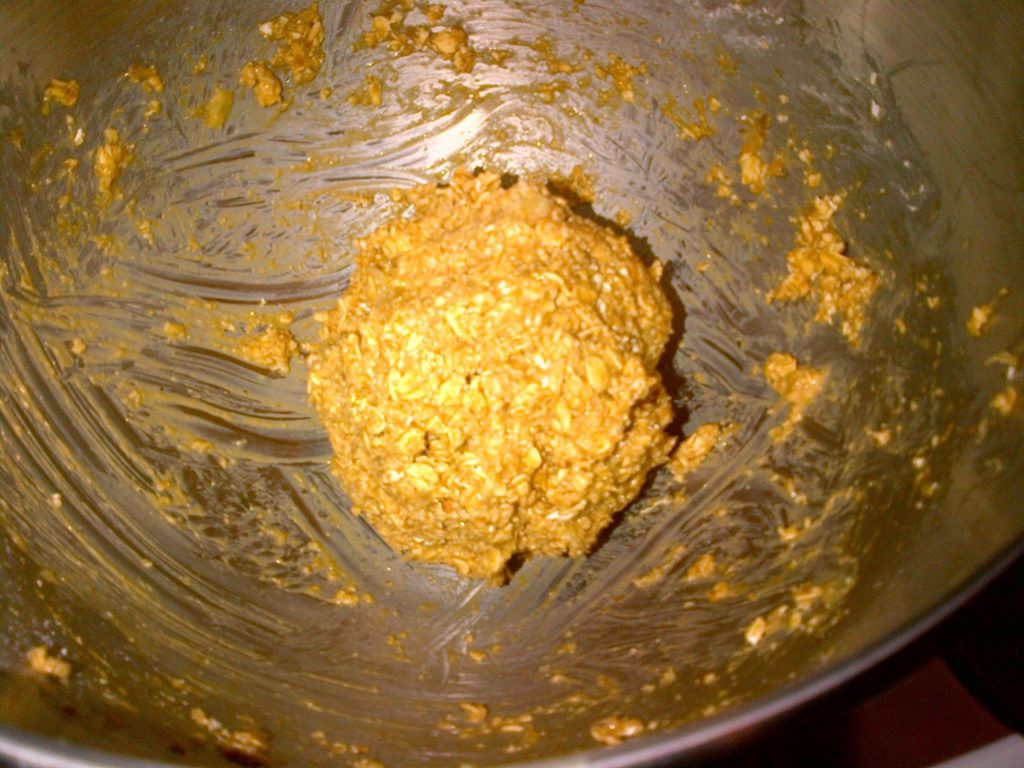 |
| peanut butter base |
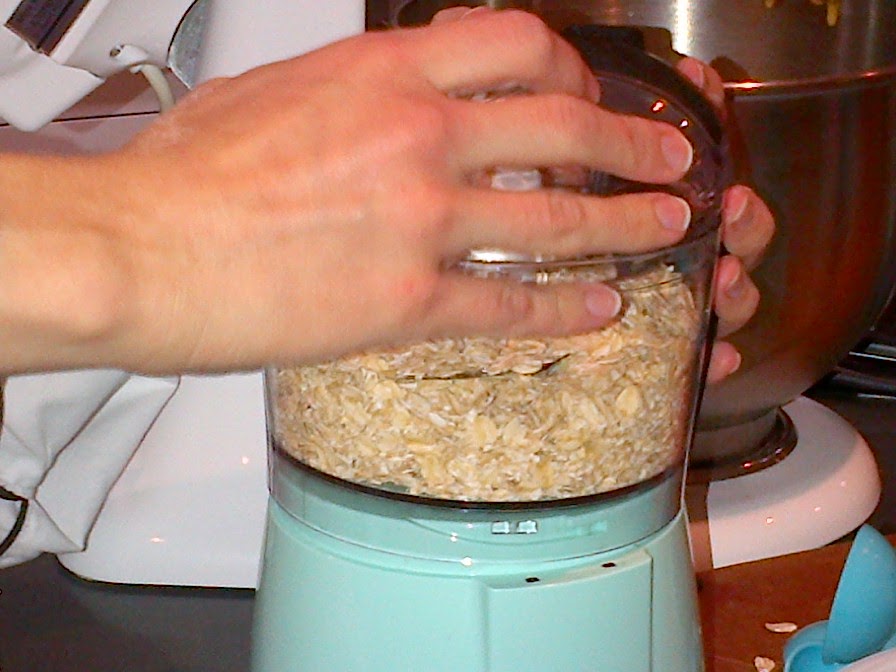 grinding oats for oat flour |
| chopping parsley |
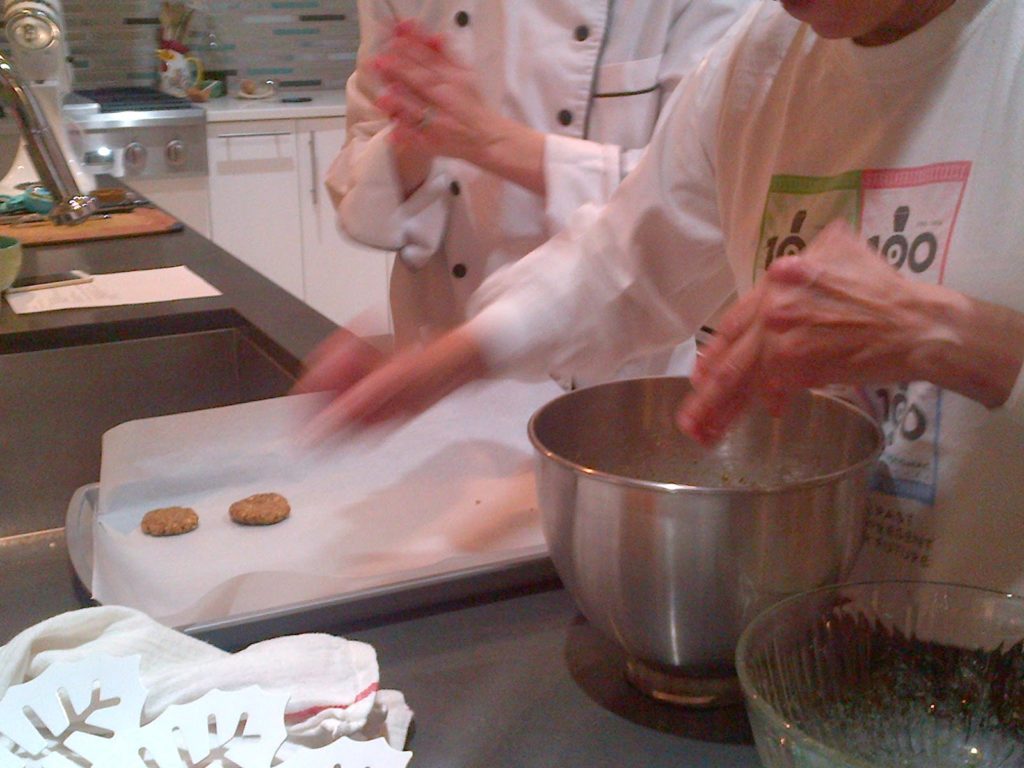
Divide the
dough into 24 balls, then press them flat into disks.
Lay the disks
on the baking sheet and bake for 20-30 minutes, depending on the desired
texture.
and Storage:
a shorter time. For crisp treats, bake
the treats longer.
treats. To extend the shelf life of the
treats, no matter how they are prepared, keep them in an airtight
container. Keeping the treats in the
fridge will extend the shelf life even longer.
whole batch and store the treats in an airtight container at room temperature.
half batch, or freeze the treats after baking.
Just make sure they are thawed before giving them to your dog.
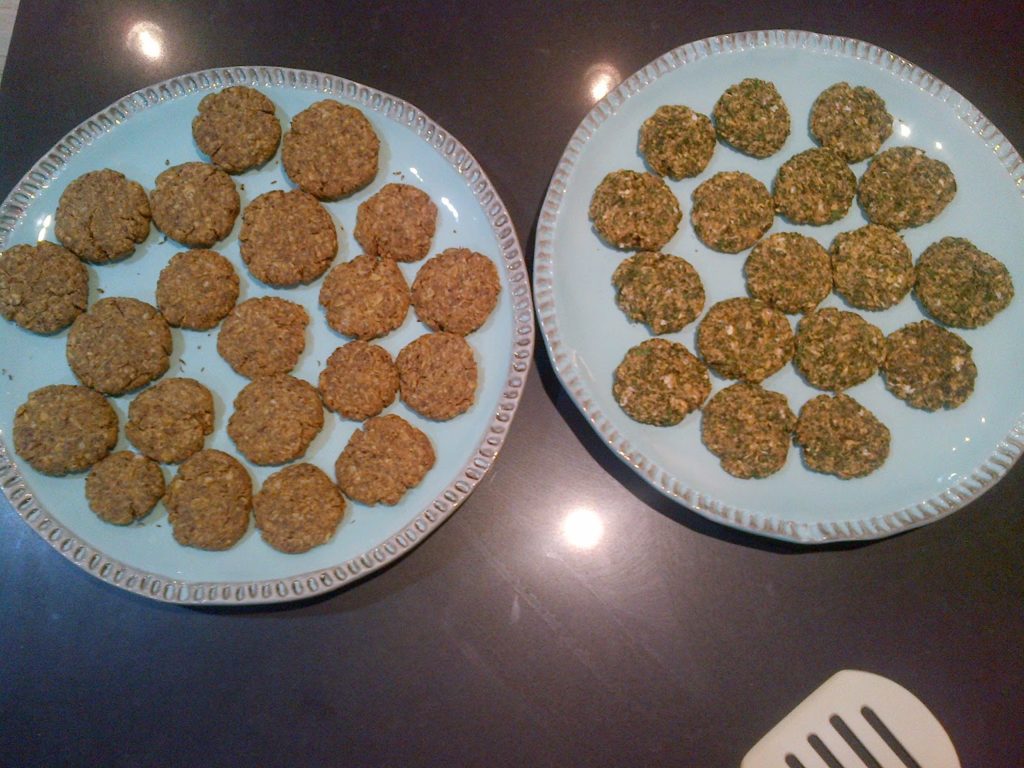 |
| The finished product |
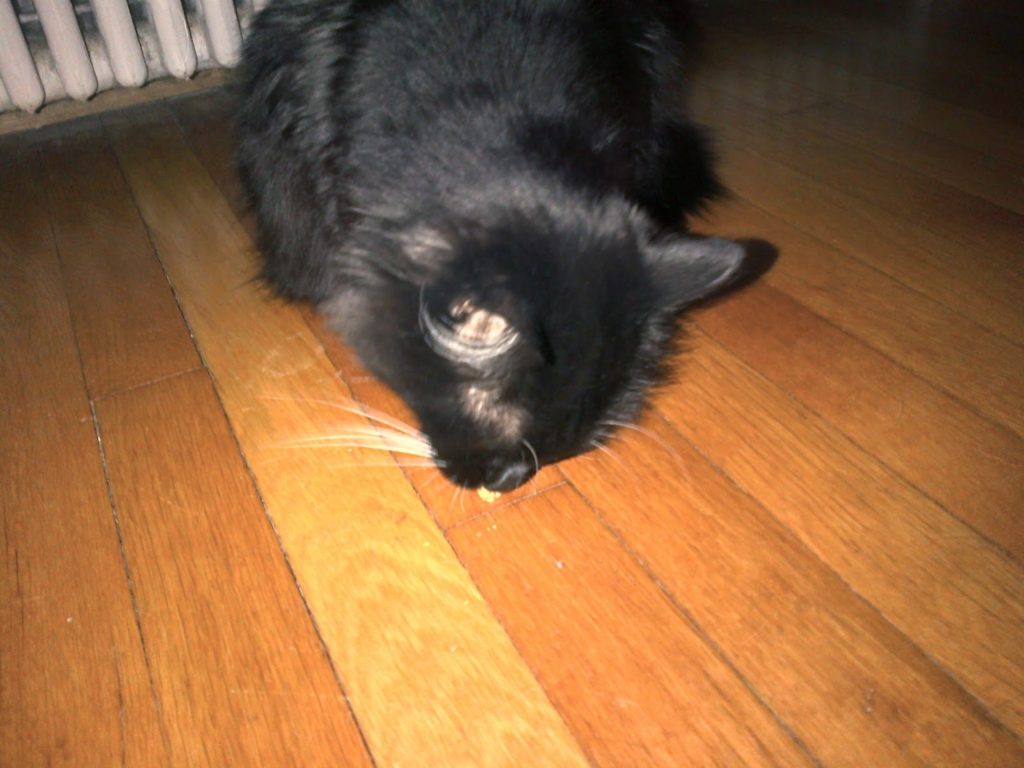 |
| Even the cat liked them!
Our final product, ready for gift giving!
|

